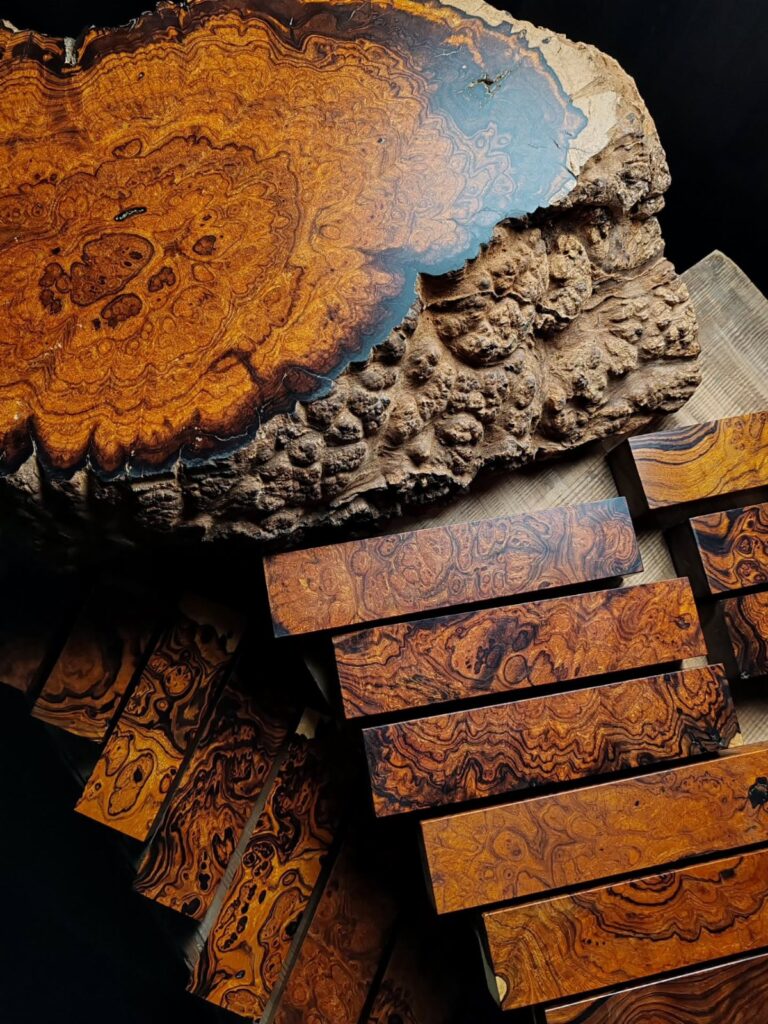
Open grain, burl, softwood stripes, end grain, stain choices, resin fills, build techniques, and how the grain reads in a room: these 6 ideas cover what you actually see and touch in a piece of wood.
A tabletop that sees coffee cups and chair legs needs the hardness of tight-ringed larch or the forgiving self-heal of end-grain cutting board stock; a weekend slab project lets you pour amber epoxy through a crack and call the flaw a feature.
The span is wide, but the rule stays simple: touch it often, choose structure; look at it only, let the grain go wild.
[link-whisper-related-posts]1. Open Grain
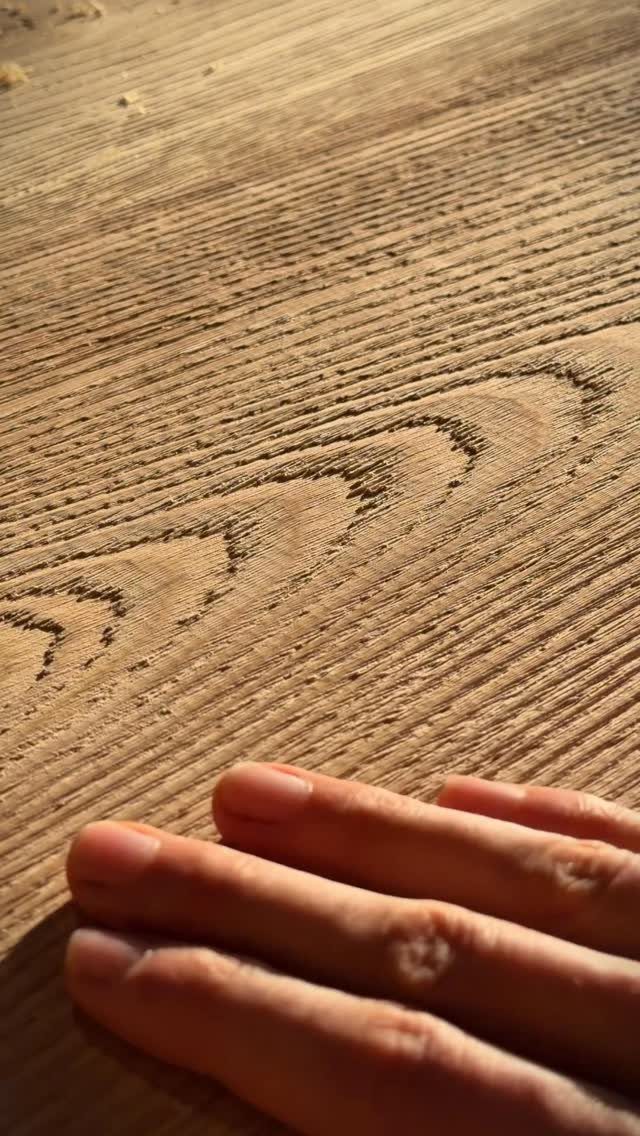
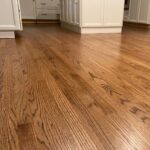
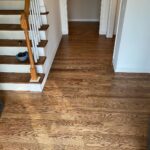
Oak and ash wear their pores openly, the grain rising in ridges you can feel under your thumb. That texture comes from ring-porous hardwoods, where the vessel cells left wide channels as the tree grew.
I like open grain for tabletops and handrails, places where people touch the surface often. The pits catch stain differently than the surrounding wood, so the color goes deeper and more varied than on a tight-grained piece.
A dark oil finish turns those pores almost black against the lighter body, a look I used on a hallway bench last spring.
Open grain drinks stain fast and deep, but the pores stay visible and honest; you will spend more time sanding between coats. Those same pores drink finish unevenly and can telegraph through paint unless you grain-fill first.
For a painted project, I’d reach for maple or birch instead. Check your board end-on: if you see holes the size of a pinhead or larger, you’re holding open grain.
2. Burl Wood Grain Texture
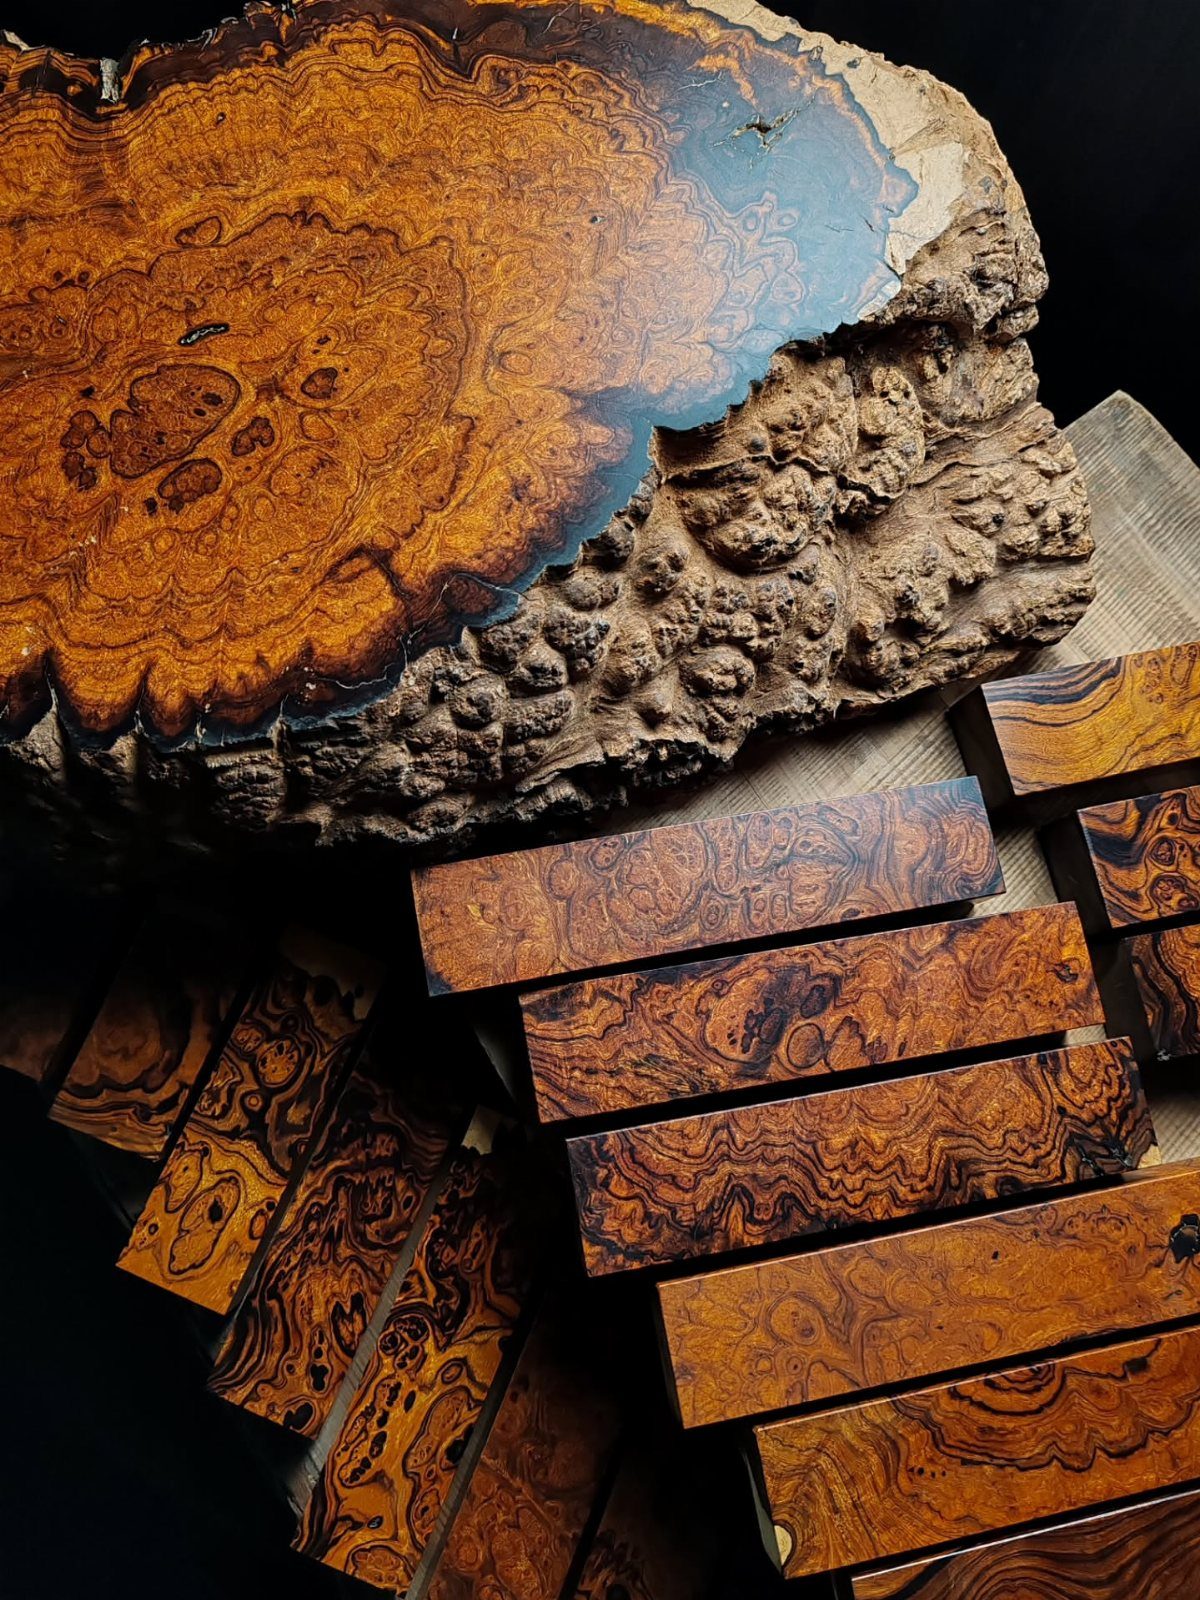
Burl grain swirls like water going down a drain, no straight lines to follow.
Raw burl keeps its knobby, irregular edge where the grain swells into random bumps; crosscut and squared, that same grain tightens into eyes and ribbon streaks that look almost like marquetry.
This figuring starts with stress, an injury or infection that made the tree grow wild around the wound. What looks chaotic from the outside becomes decorative once you slice into it.
I saw a guitar maker once pay dearly for a fiddleback maple billet, and the ripple under lacquer was worth every dollar.
For a small project, burl veneer over plywood gives you the drama without hunting down solid stock.
Small blocks like these usually come from turning blanks or jewelry box stock, sized for a lathe or a box lid rather than a tabletop.
Solid burl can be brittle and check while drying, so I would not trust it for structural parts. Use it where it shows, back it with something stable, and let the grain do the talking.
3. Softwood Grain Patterns
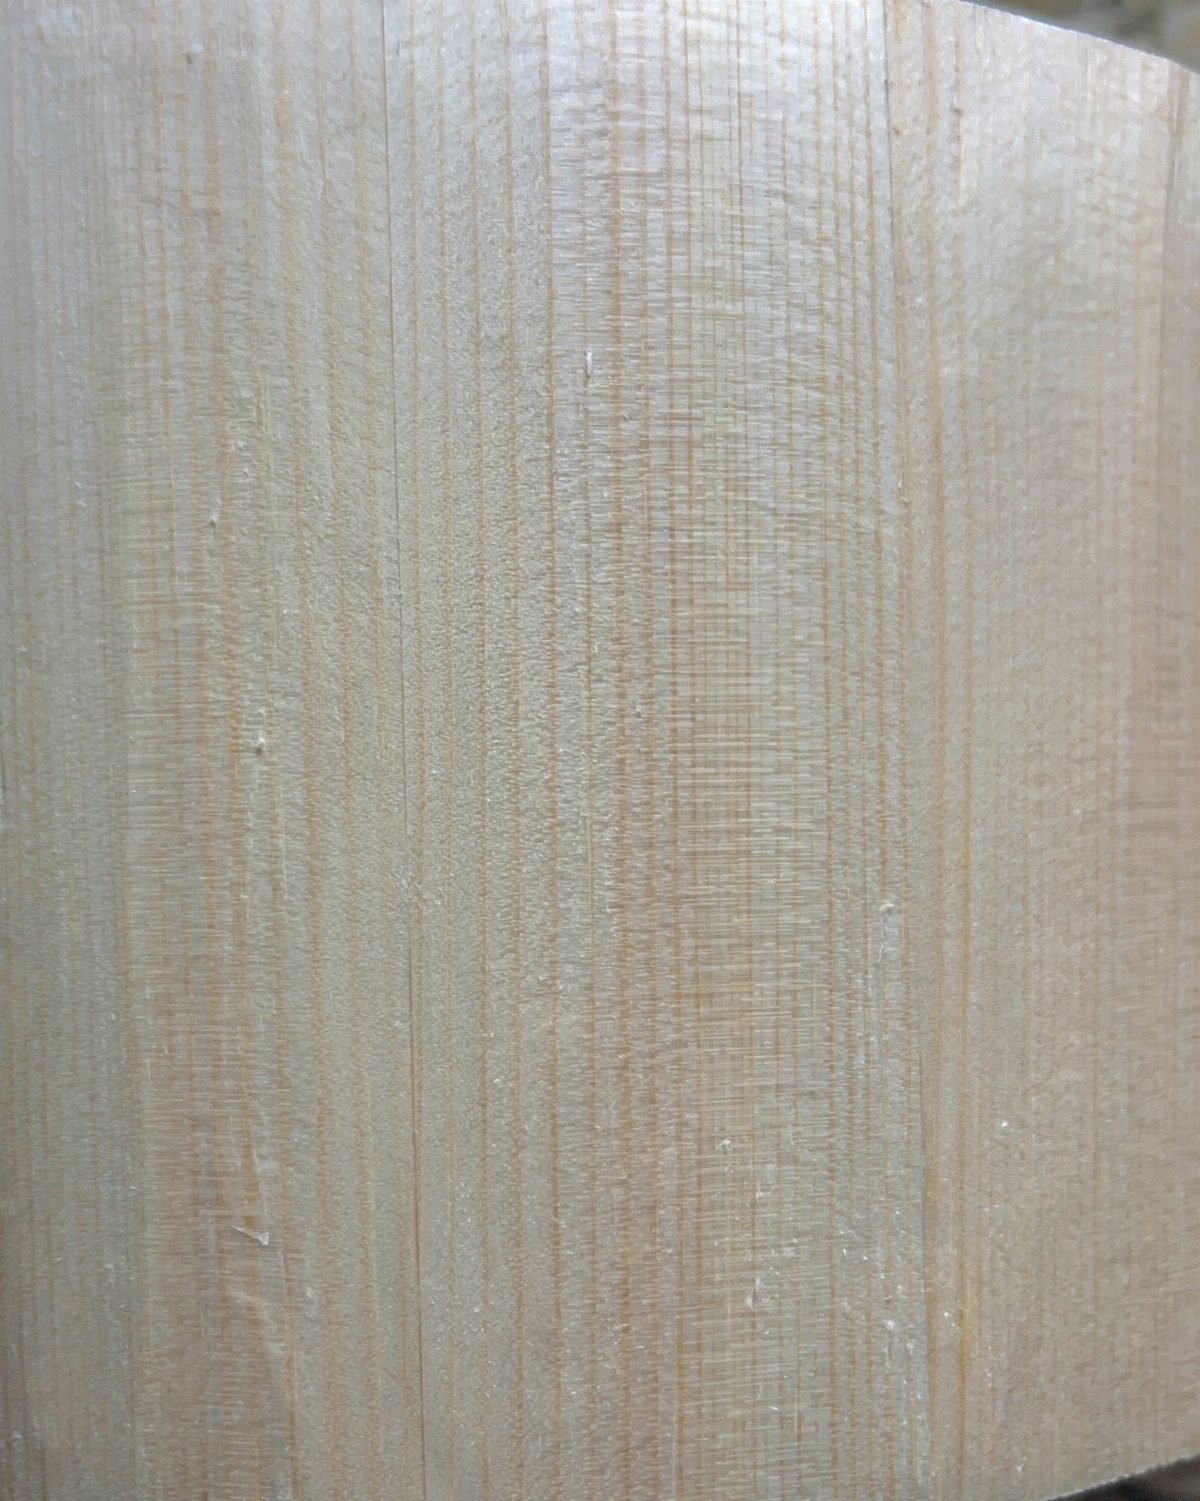
Softwood grain runs quieter than hardwood, all lines and bands instead of pores and flecks. Pale softwood carries earlywood and latewood as alternating stripes, the whole year’s growth visible in one clean sweep across the board.
Without vessel cells, softwoods simplify down to what the rings tell you. Western red cedar keeps it subtle; Siberian larch, with its wider rings, shouts more.
I pick softwoods when I want the material to stay in the background or when I’m working outside, since the resins in larch and cedar resist rot without my help.
Softwood dents if you look at it hard; a ring on your hand, a dropped key, a chair leg dragged wrong. That same even texture means less density variation, so a pine tabletop marks if you look at it wrong.
For a painted built-in or a fence, the simpler grain is a gift; for a coffee table that sees daily life, I’d spend the extra on a hardwood.
Check the growth ring width on your board: tight rings mean slower growth and harder wood, even within the same species.
4. End Grain Texture
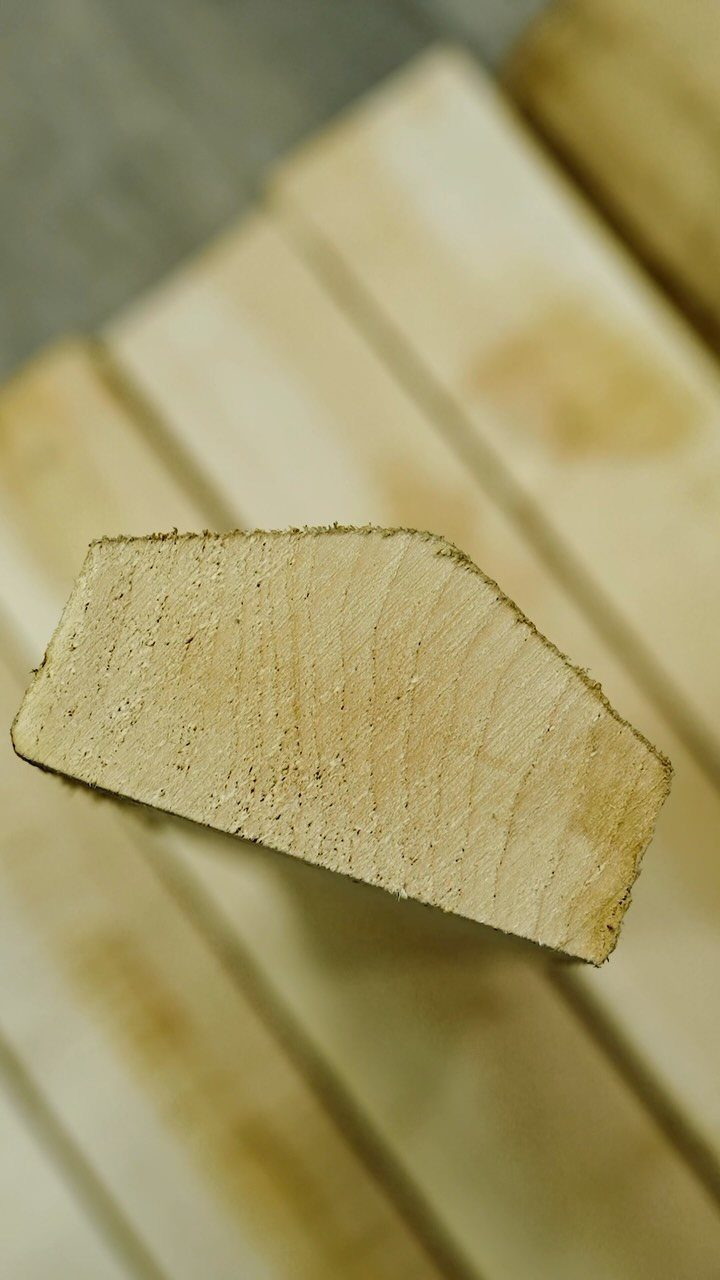
End grain shows you the tree in cross-section, rings stacked like pages in a book you cut the wrong way through.
A board cut face-up shows the growth rings subtle but readable in fresh saw marks, each arc a year of the tree’s life.
This surface behaves nothing like the face grain. It soaks up glue and finish, it expands and contracts more dramatically, and it dulls blades faster from all those fibers standing at attention.
I use end grain for cutting boards, where the upended fibers self-heal under a knife better than side grain ever could.
For furniture, end grain usually hides. A tabletop with exposed ends looks striped and busy unless you breadboard it or miter the corners to keep face grain showing around the edge.
Small blocks like this read as scrap or a small project piece; if you want the ring pattern to stay sharp, seal it heavy with oil or epoxy, or the open fibers will fuzz and stain with every wipe.
5. Stained Versus Natural Grain
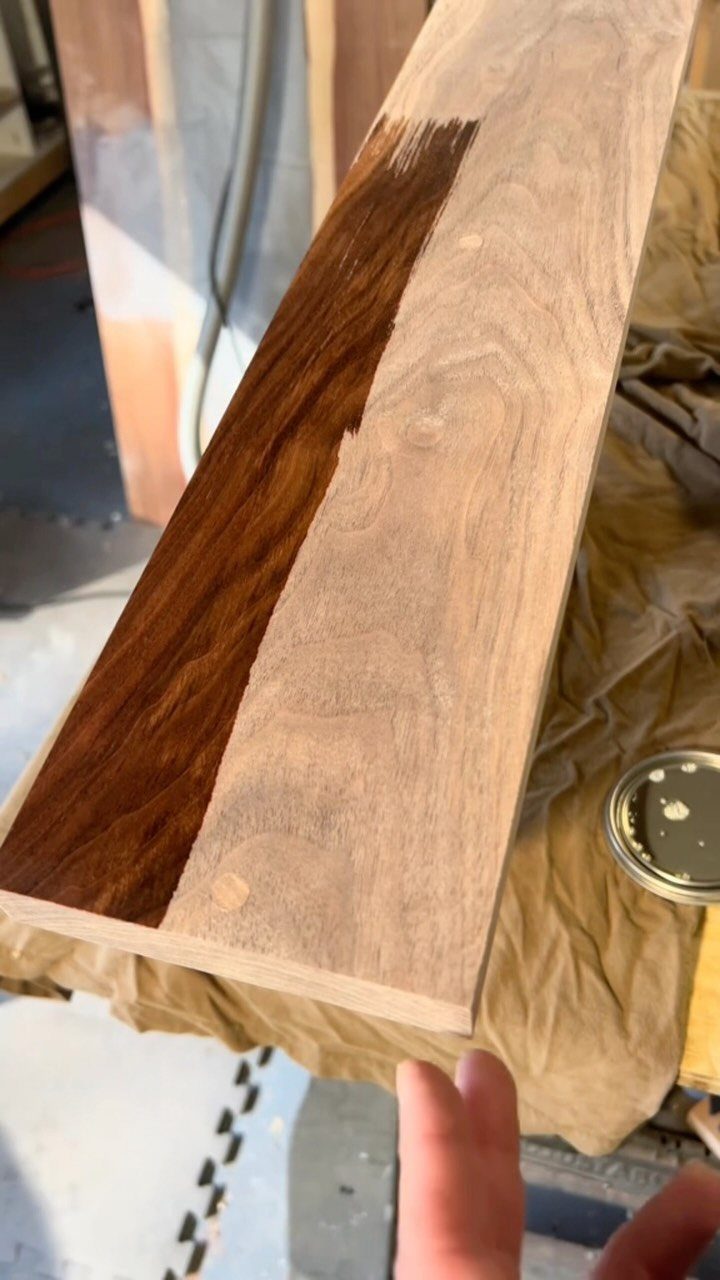
Half the board glows raw, half sits drowned in dark stain, and the grain reads through both. The photo makes the choice literal: one plank, two finishes, the same lines underneath.
Stain does not cover grain so much as tint it, and open pores grab more pigment than the dense areas between.
On oak, that means the grain goes almost black while the body stays medium brown, an accent I find too harsh for small rooms.
On tighter woods like maple, stain can look muddy because there’s nowhere for the color to settle; I skip stain entirely there and reach for dye or leave it natural.
Natural grain carries what the tree made: warm, uneven, specific to that one board, never quite repeating. For a first project, I’d start there.
Oil or clear lacquer protects without deciding the color for you. If you must stain, test on scrap from the same board; the end grain in the cutoffs will drink it darkest and warn you what’s coming.
6. Wood Grain with Resin Crevice
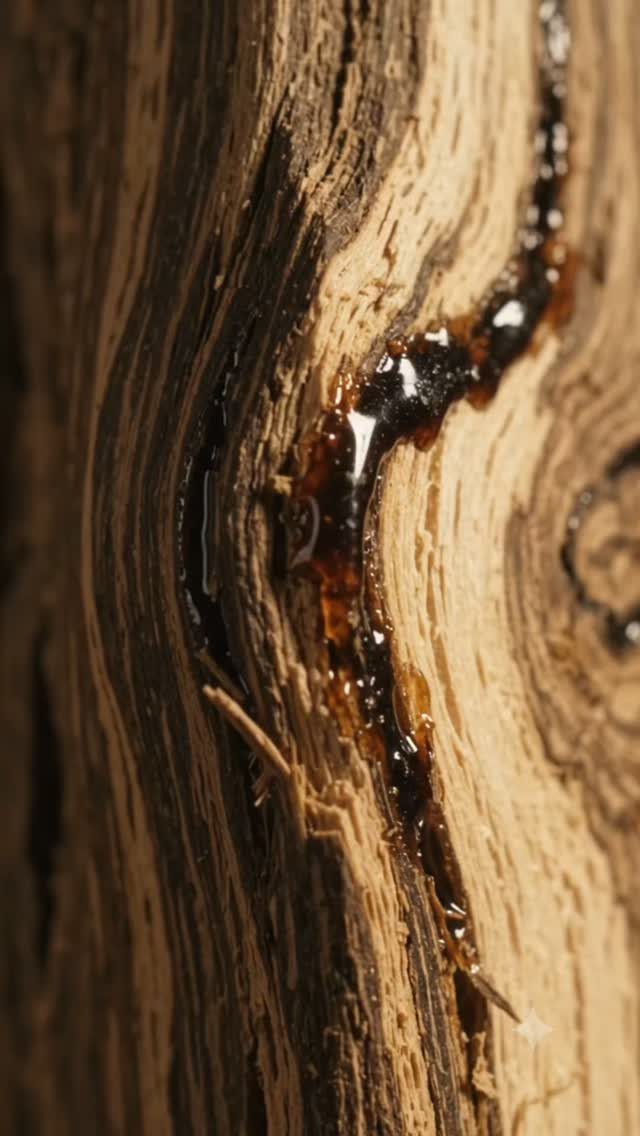
A crack in the wood stopped with amber resin, the gap now a river of gloss through the grain. Weathered surface, swirling tan and brown, the resin fill catching light like hardened honey where it settled into the crack.
I have seen this done two ways. Found resin, what the tree bled itself, you mostly leave alone or stabilize with thin CA glue so it stops crumbling.
For a project, epoxy tinted with amber dye lets you build that same look in a check or knot you want to keep rather than cut away.
Viscosity matters more than brand: too thin and the resin drains through the bottom, too thick and it traps bubbles against the rough walls.
This suits rustic pieces where perfection would look wrong. A live-edge shelf, a garden bench, a wall panel you built from reclaimed lumber.
The resin adds strength to the weak spot and turns flaw into feature. I’d not try it on fine furniture; there the goal is wood that never split.
For a weekend slab project, though, that glowing seam is exactly what you came for.
Woodworking Techniques
Grain direction decides whether your plane glides or fights back.
Working with the grain, the fibers split ahead of the blade and leave a clean surface; against it, the blade lifts and tears, leaving chipped valleys you will sand for hours.
Straight-grained woods like basswood or clear pine forgive almost any angle, while interlocked or spiral grain, common in mahogany or some oaks, changes direction layer by layer and demands light cuts or a scraper instead.
I save it for cutting boards or small blocks, never for a show surface.
Quarter-sawn stock, with its straight vertical lines, stays more stable than flat-sawn and works predictably; the ribbon stripe of interlocked quarter-sawn figure looks beautiful but tests your patience with tear-out that a high-angle blade or dampening with alcohol can tame.
Aesthetic Considerations
Figure is what makes a board worth more than its weight in firewood, and it is not the same as grain.
Grain is the tree’s yearly record; figure is the accident, the fungus, the stress, the knot that warped the fibers into something no one saw coming.
Bird’s eye maple, quilted sapele, the ripple of fiddleback under a raking light: these sell for premiums because they cannot be ordered, only found.
A plain-sawn board shows grain in wide, wandering arches, stable enough for most work. Quarter-sawn or rift-sawn cuts cost more and waste more timber, but they expose straight vertical lines and, in lucky pieces, that ribbon stripe from interlocked fibers.
The same cut that gives you stability can give you figure worth building around.
I pick figured boards for small, visible parts: a drawer front, a lid, a panel set into a plainer frame. A whole table of heavy figure tires the eye; one dramatic board, let to speak alone, stays interesting longer.
Save the plain stuff for legs and aprons that carry weight but do not carry the room.
Frequently Asked Questions
How to do wood grain texture?
Wood grain texture happens naturally when a tree is cut, the fibers revealing darker and lighter patterns from growth rings.
The direction those fibers run, how big they are, and how they’re packed together all decide what the surface looks like under your hand.
You don’t manufacture it so much as choose the right board and cut it to show what grew there.
What is the prettiest wood grain?
That depends on what you like to look at. I find burl grain hard to beat for pure drama, the swirls and eyes from a tree’s stressed growth looking almost like marquetry once sliced open.
For everyday furniture, though, a straight, even hardwood grain ages better and stays readable under finish for years.